Selling to stores on WeedUs
From your first login to a fully booked calendar: publish your catalog, receive orders, schedule deliveries with the right paperwork, and run vendor days your stores will remember.
1.Create your account
- 1Go to weedus.app/auth/register.
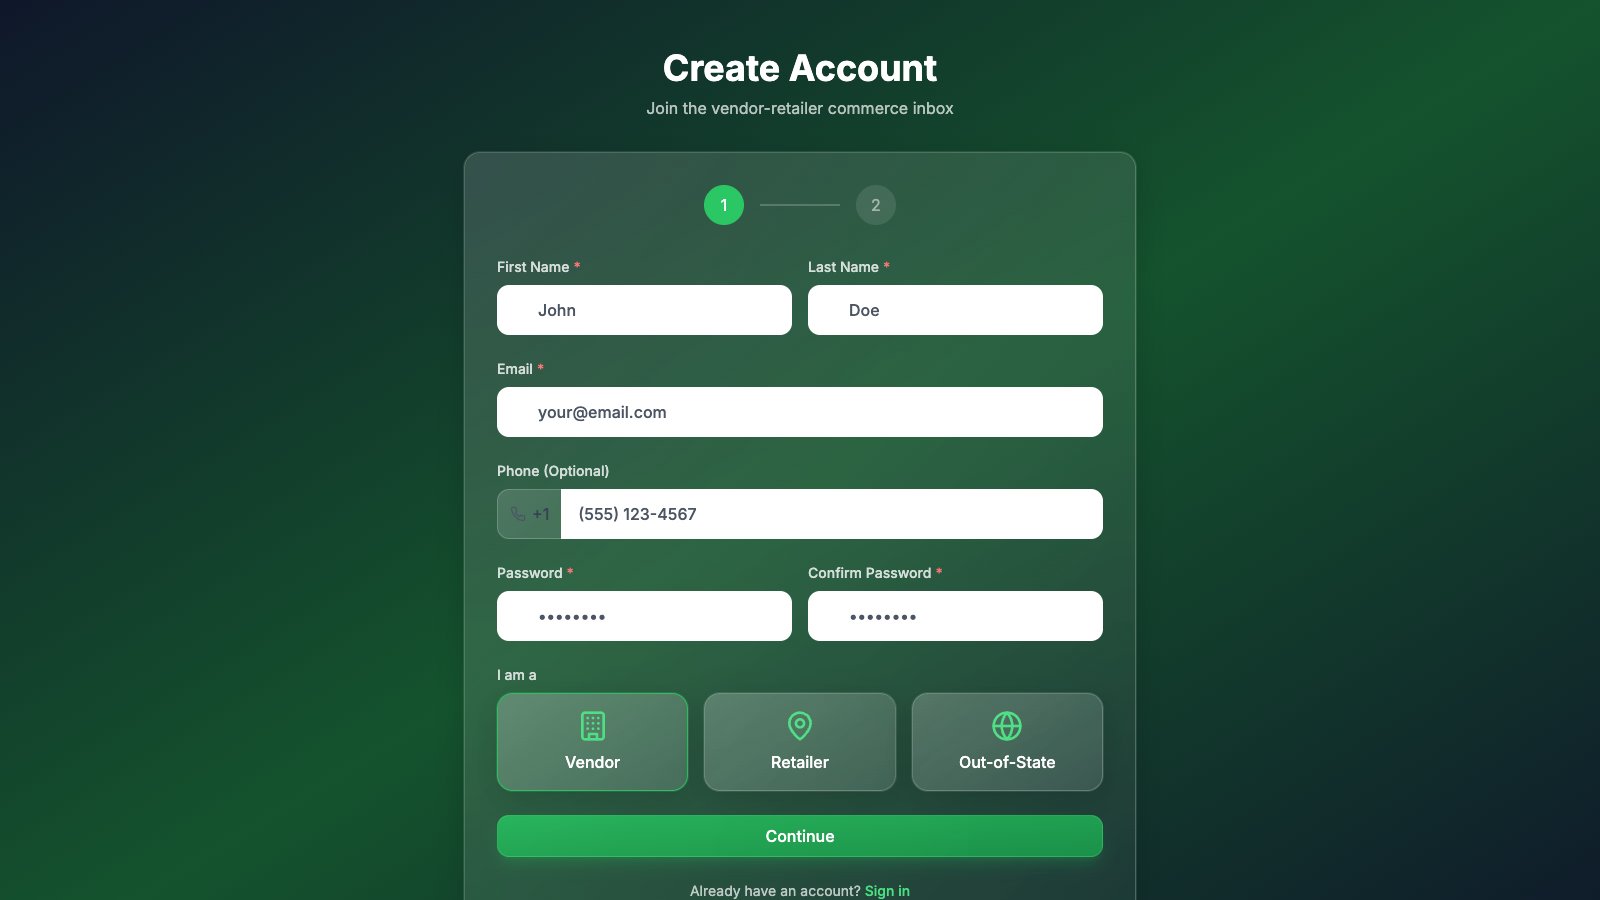
- 2Fill in your name, email, and a password, then choose the Vendor card.
- 3Press Continue and enter your business details: name, address, phone, business email, and your WA producer/processor license number.
- 4Press Create Account. Vendor accounts are reviewed by the WeedUs team — you'll get an email as soon as you're approved, usually quickly. Until then, signing in shows a "pending approval" message.
2.The Getting Started checklist
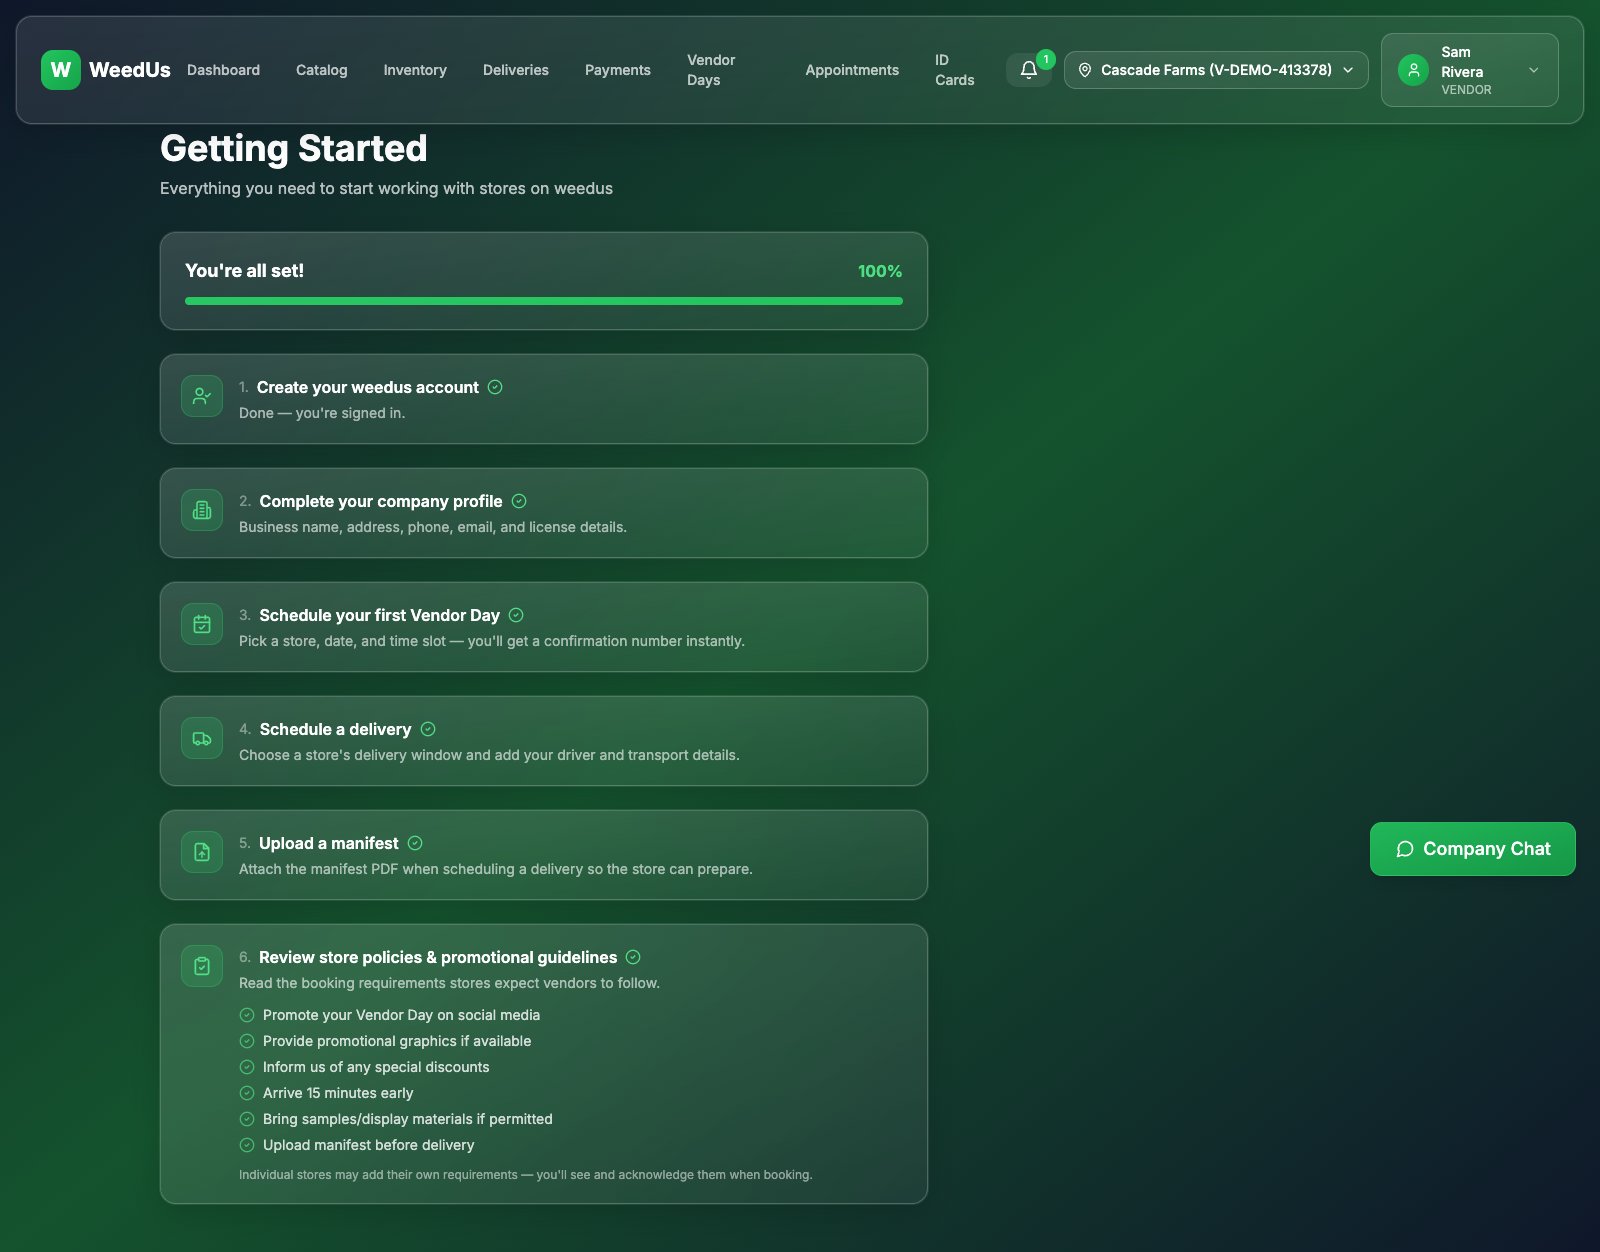
Once approved, open Getting Started (linked from your dashboard until you finish it). It walks you through the six steps that make your account fully operational — each one links to the right page, and progress updates by itself as you complete things for real.
3.Subscriptions
The core WeedUs platform is currently free for vendors — catalog, orders, deliveries, and vendor days included.
Want sales analytics across your stores? WeedUs Analytics at analytics.weedus.app is an add-on service with its own plans (Free, Starter $99, Pro $299, Enterprise $799 per month). Sign in with your WeedUs account; paid plans check out through a secure Stripe page and bill to your vendor organization.
4.Your dashboard
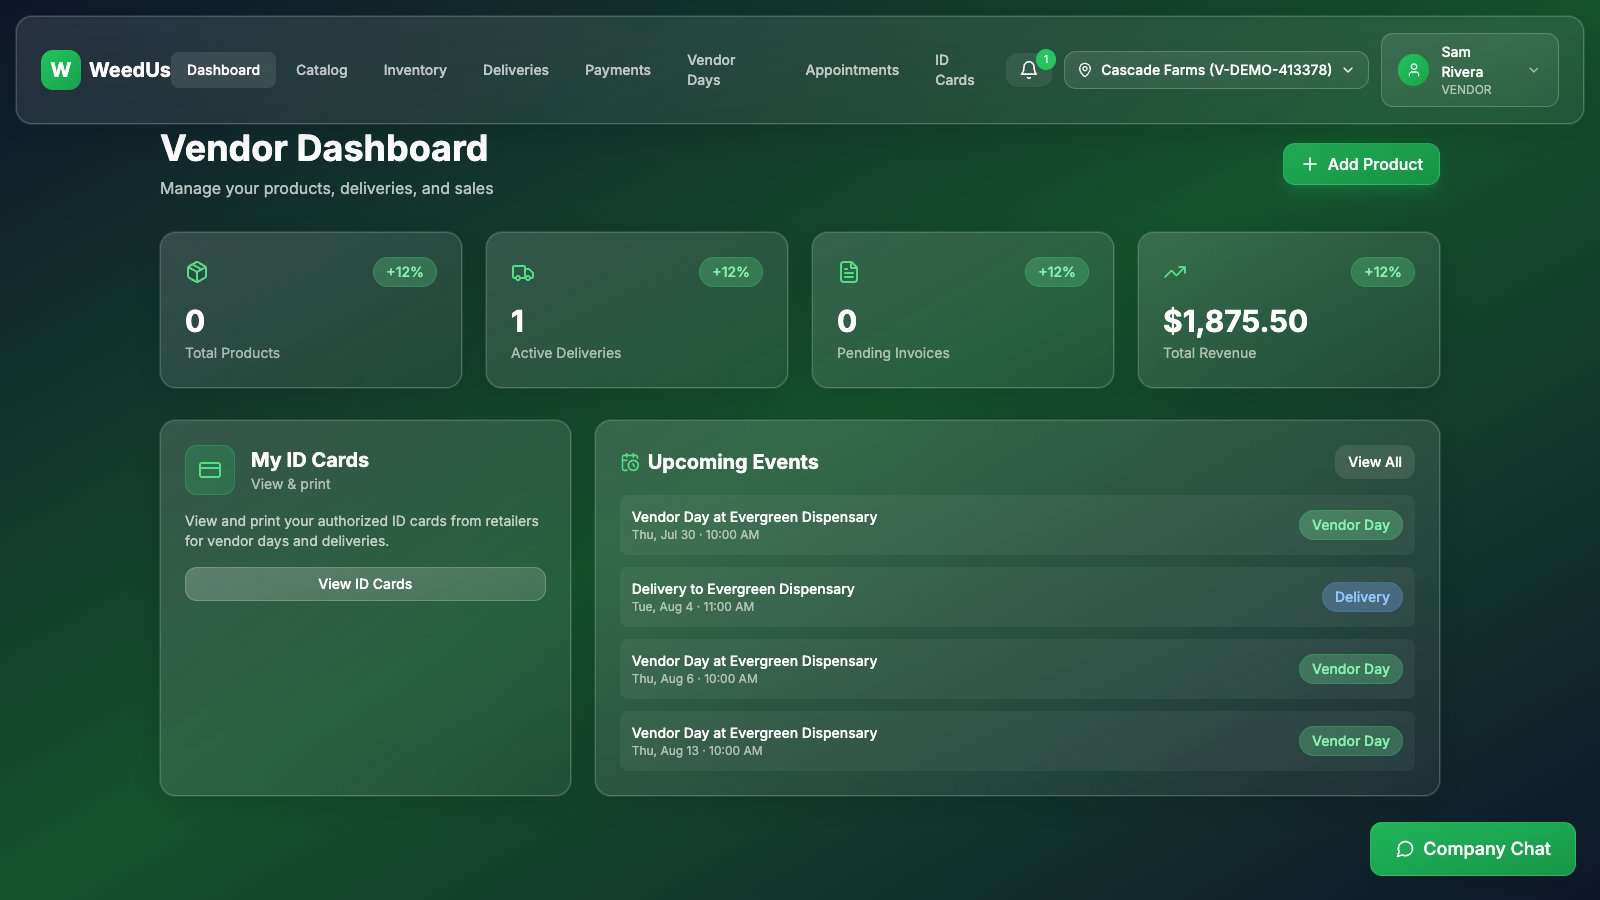
Your home screen shows the numbers that matter — products published, orders received, upcoming deliveries and vendor days — plus shortcuts into each area.
5.Your product catalog
The catalog is your storefront: what you publish here is what retailers browse and order from. There are three ways to get products in, and you can mix them freely.
Upload in bulk
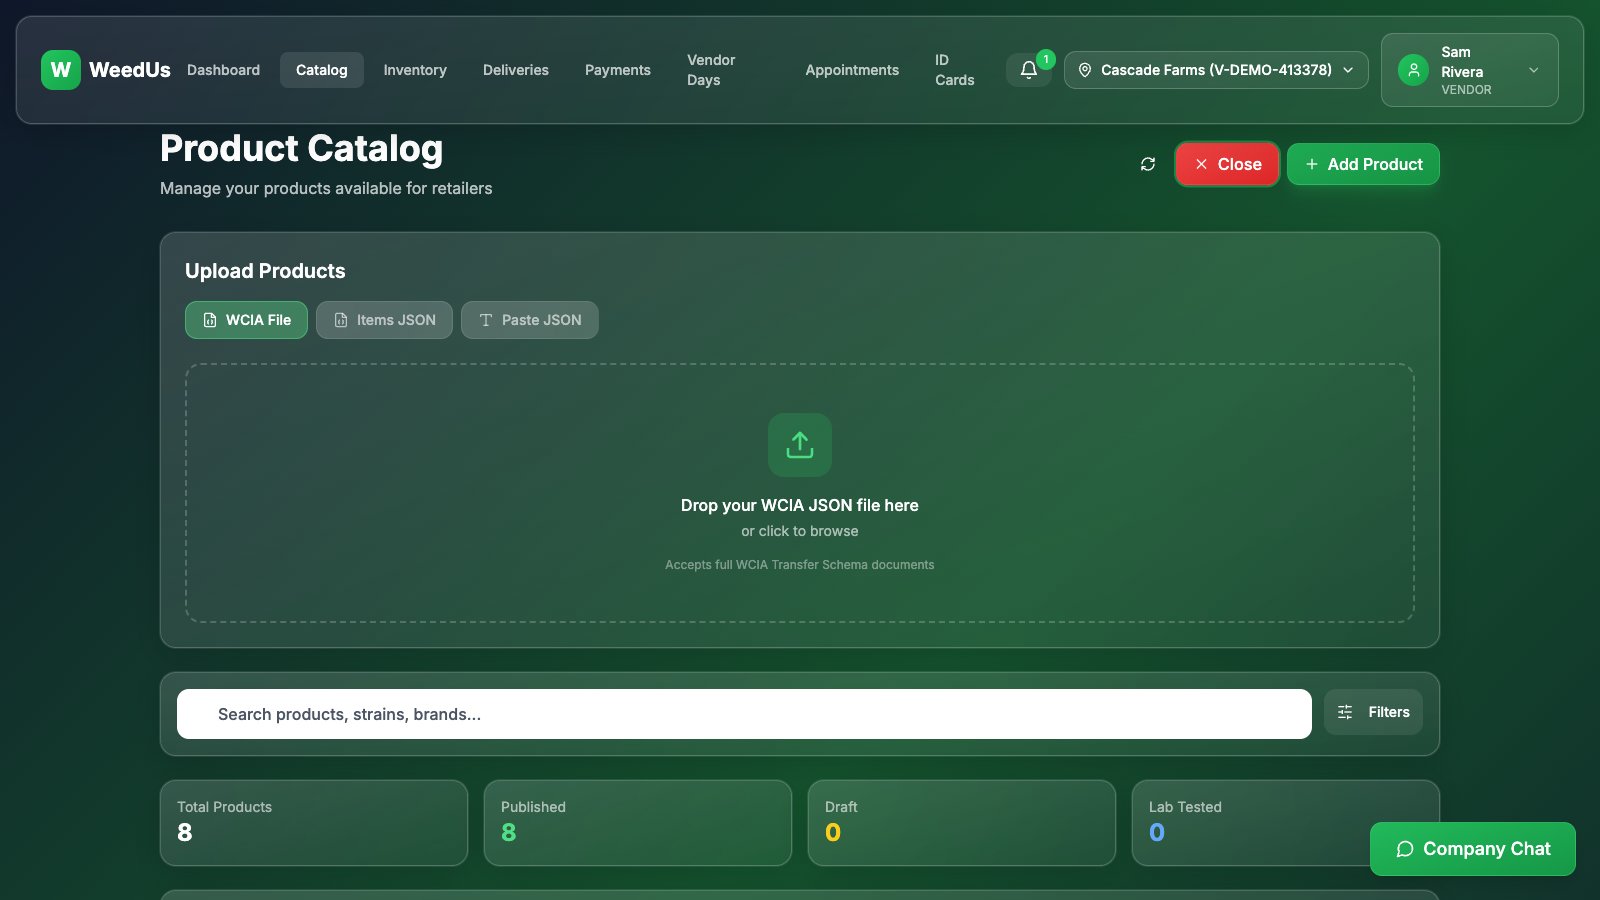
- 1Open Catalog and press Upload.
- 2Pick a tab: WCIA File (drop the WCIA JSON your lab/compliance software exports), Items JSON (a simpler item list), or Paste JSON (paste the text directly).
- 3Nothing is saved yet — your items appear in a staging preview first. Open any item to fix names, prices, or quantities; remove what you don't want; add more by hand.
- 4Press Import when the list looks right. Done — they're in your catalog as drafts or published items.
Add one product by hand
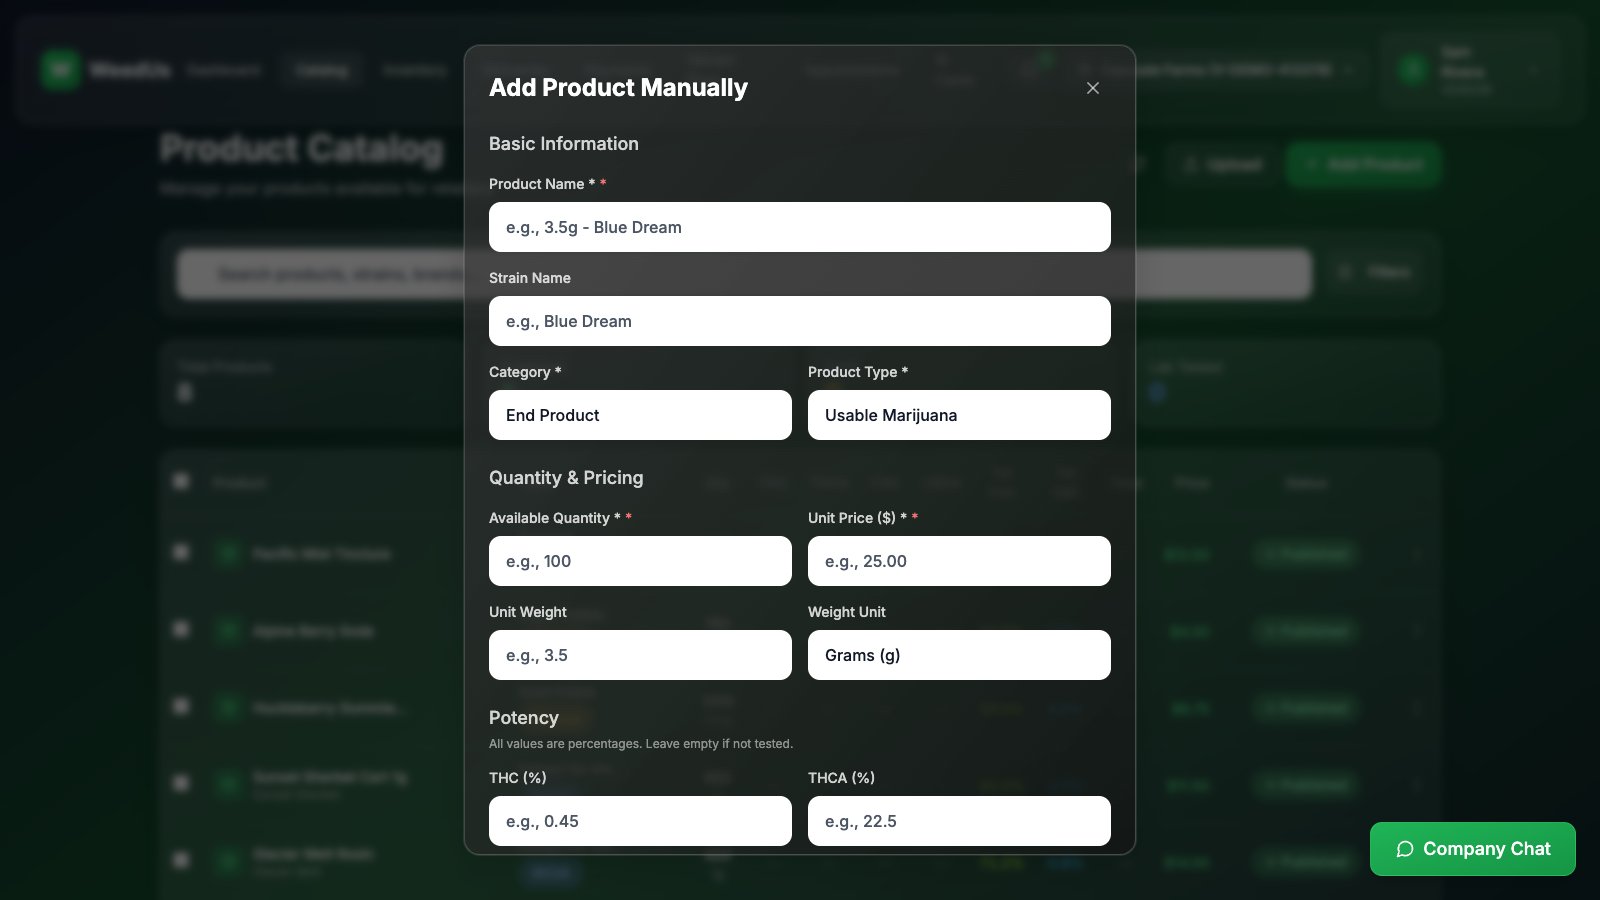
- 1Press Add Product, fill in the details (name, category, price, potency…), and save.
Photos, editing & publishing
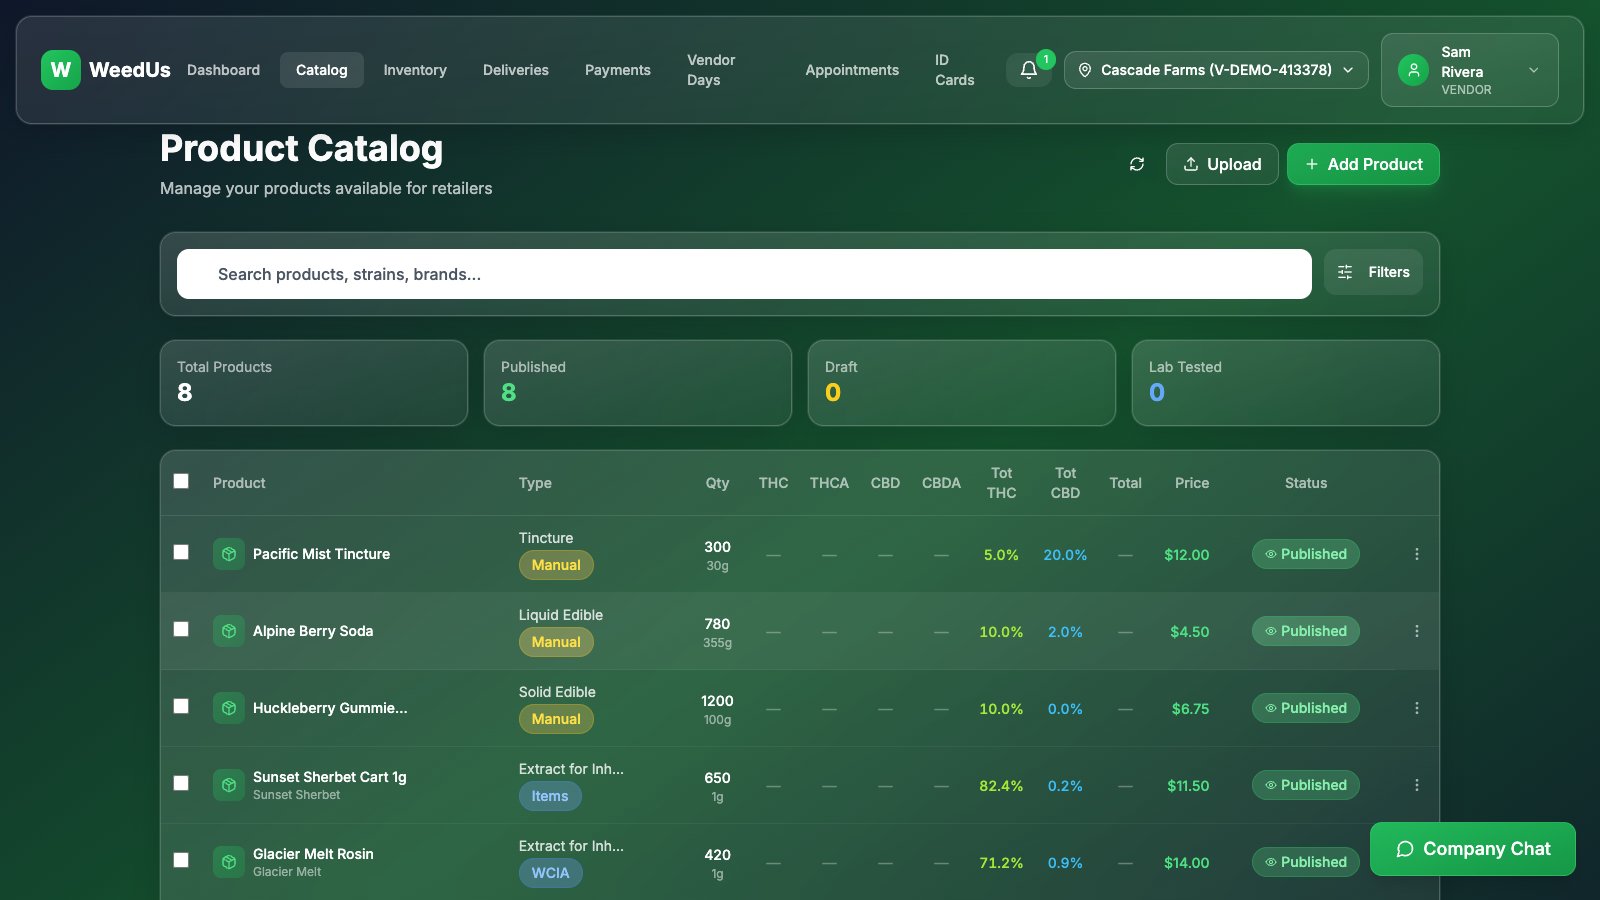
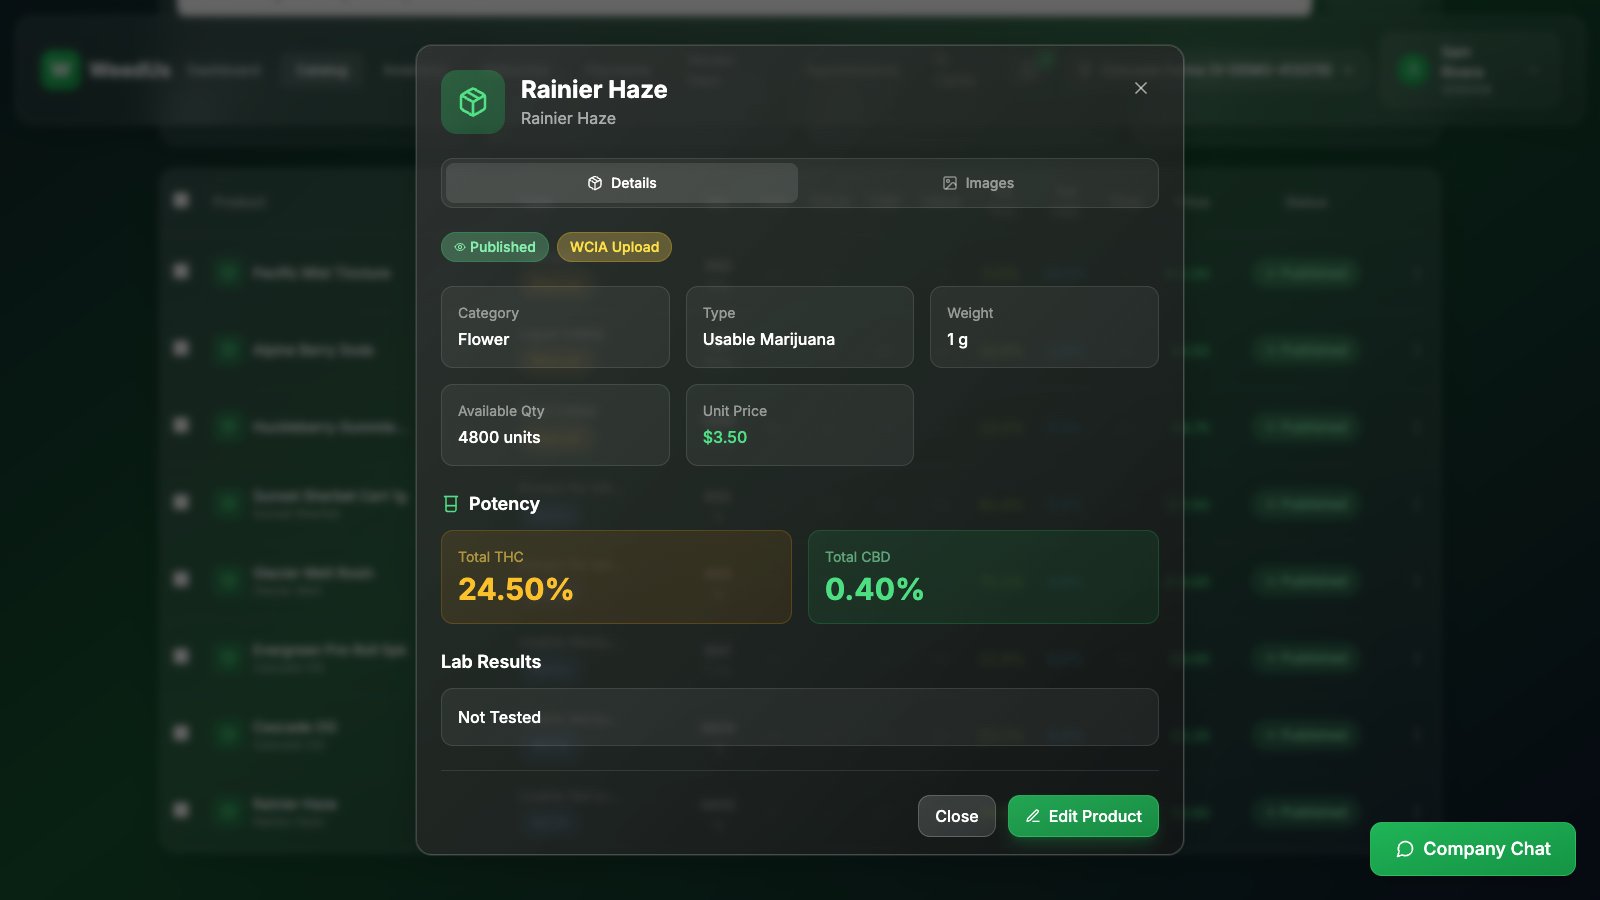
- 1Click any product in your list to edit it. In the edit window you can upload up to 8 photos — drag and drop, reorder them, and choose the primary photo retailers see first.
- 2Use the publish/unpublish toggle to control what retailers can see. Unpublished items stay in your catalog as drafts.
- 3Tick several products to bulk publish or bulk delete.
- 4The same filters retailers get (category, type, THC/CBD, price, stock) work here — handy once your catalog grows.
6.Receiving orders
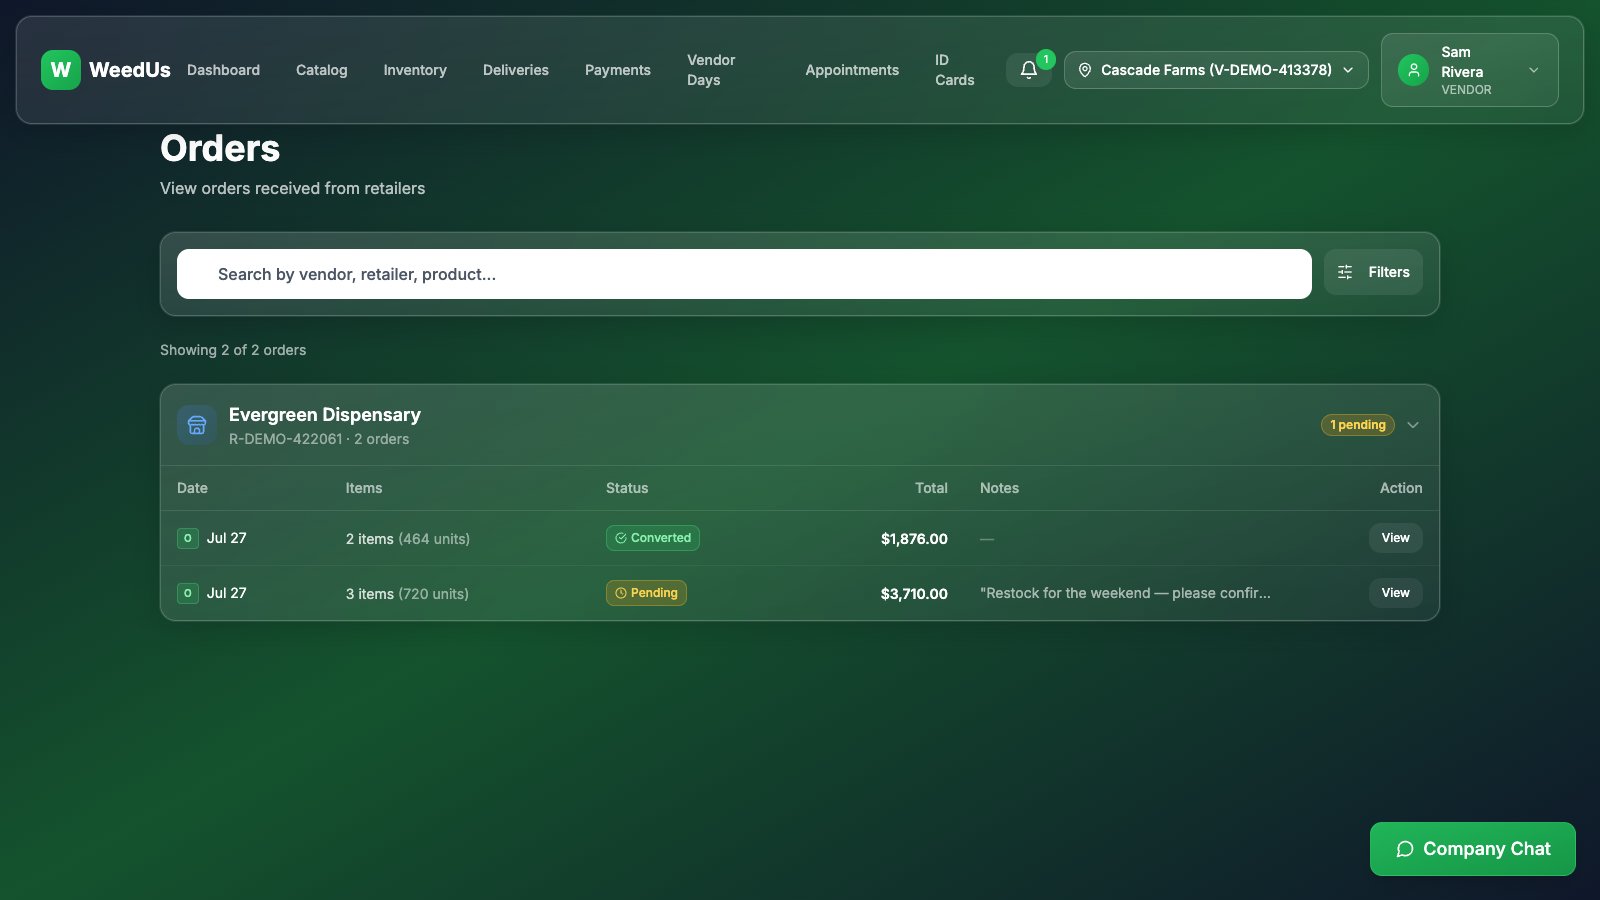
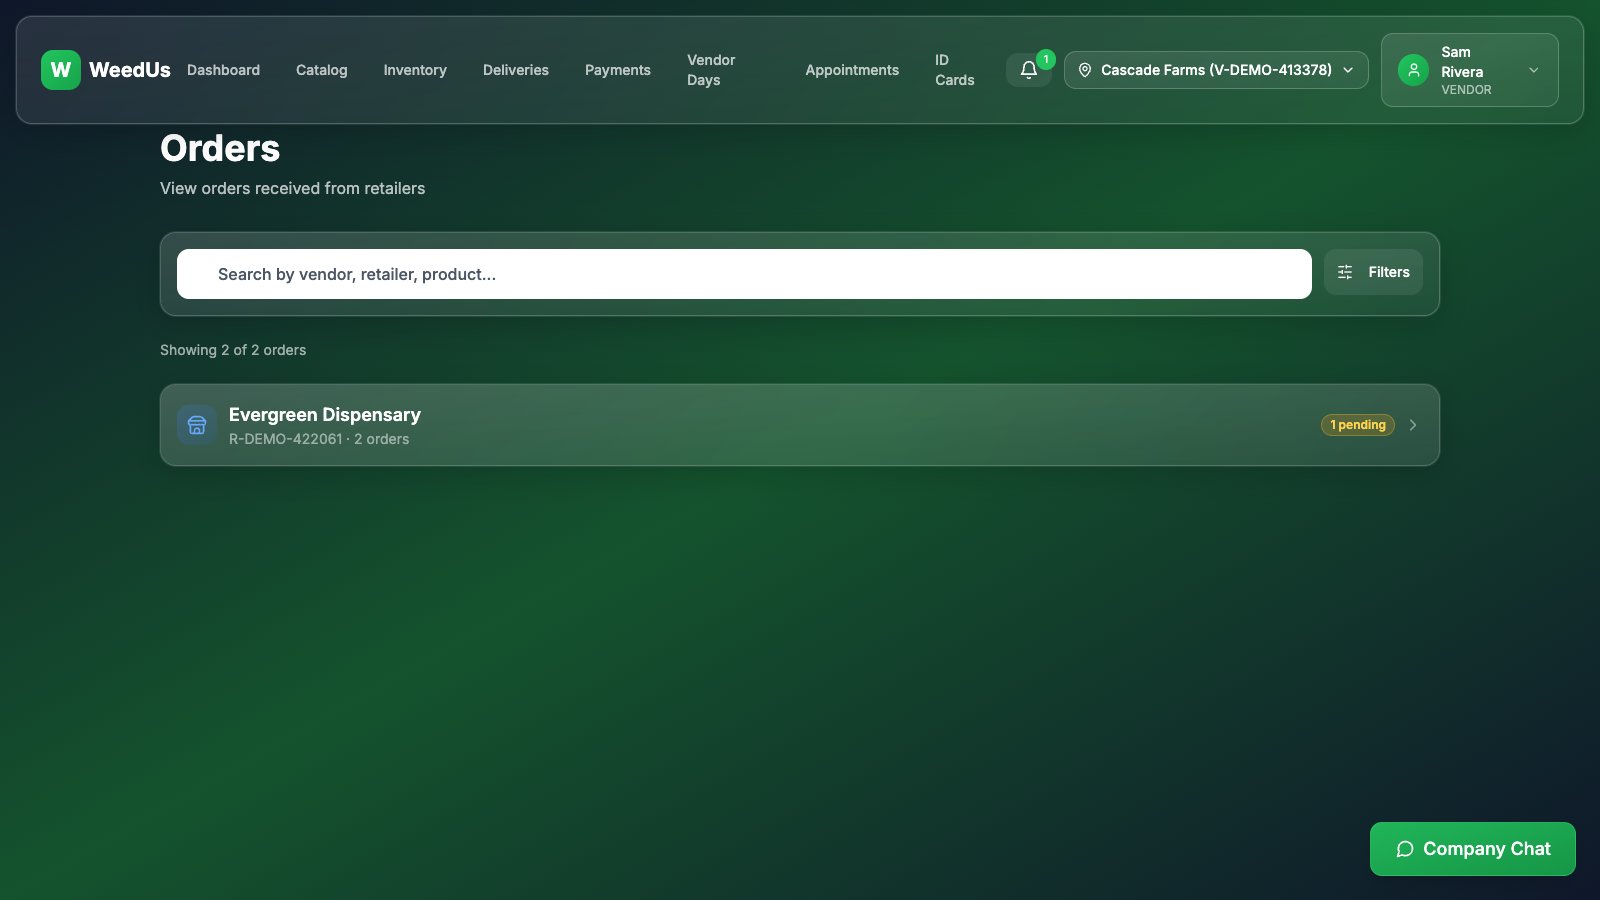
Retailers shop your catalog, fill a cart, and send you an order — you'll get a notification and an email. The Orders page is your queue.
- 1Open Orders. New orders arrive as Pending.
- 2Click an order to see the items, quantities, prices, and the store's note.
- 3Respond to the store (the conversation lives right there), and when you're ready, turn the order into a scheduled delivery (next section) — the order then shows as Converted and stays linked to its delivery.
7.Stock at your stores
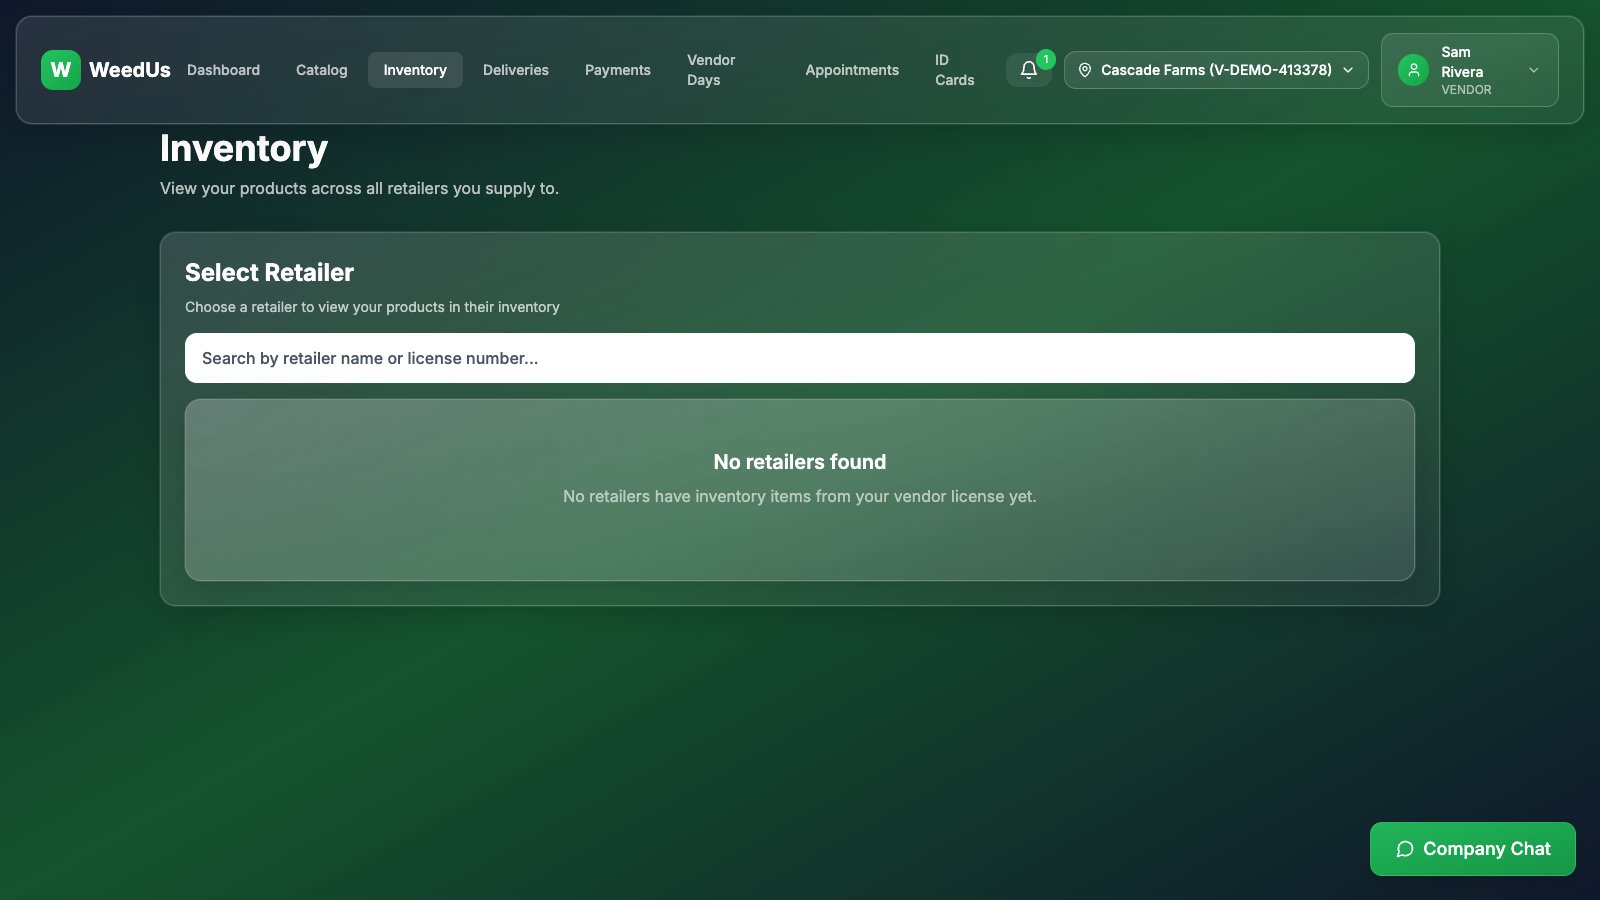
The Inventory page answers "how is my product doing at each store?" Pick a retailer, and see the on-hand quantities of your products from their synced point-of-sale menu — no phone call needed. Great for spotting a store that's about to run out.
8.Scheduling deliveries
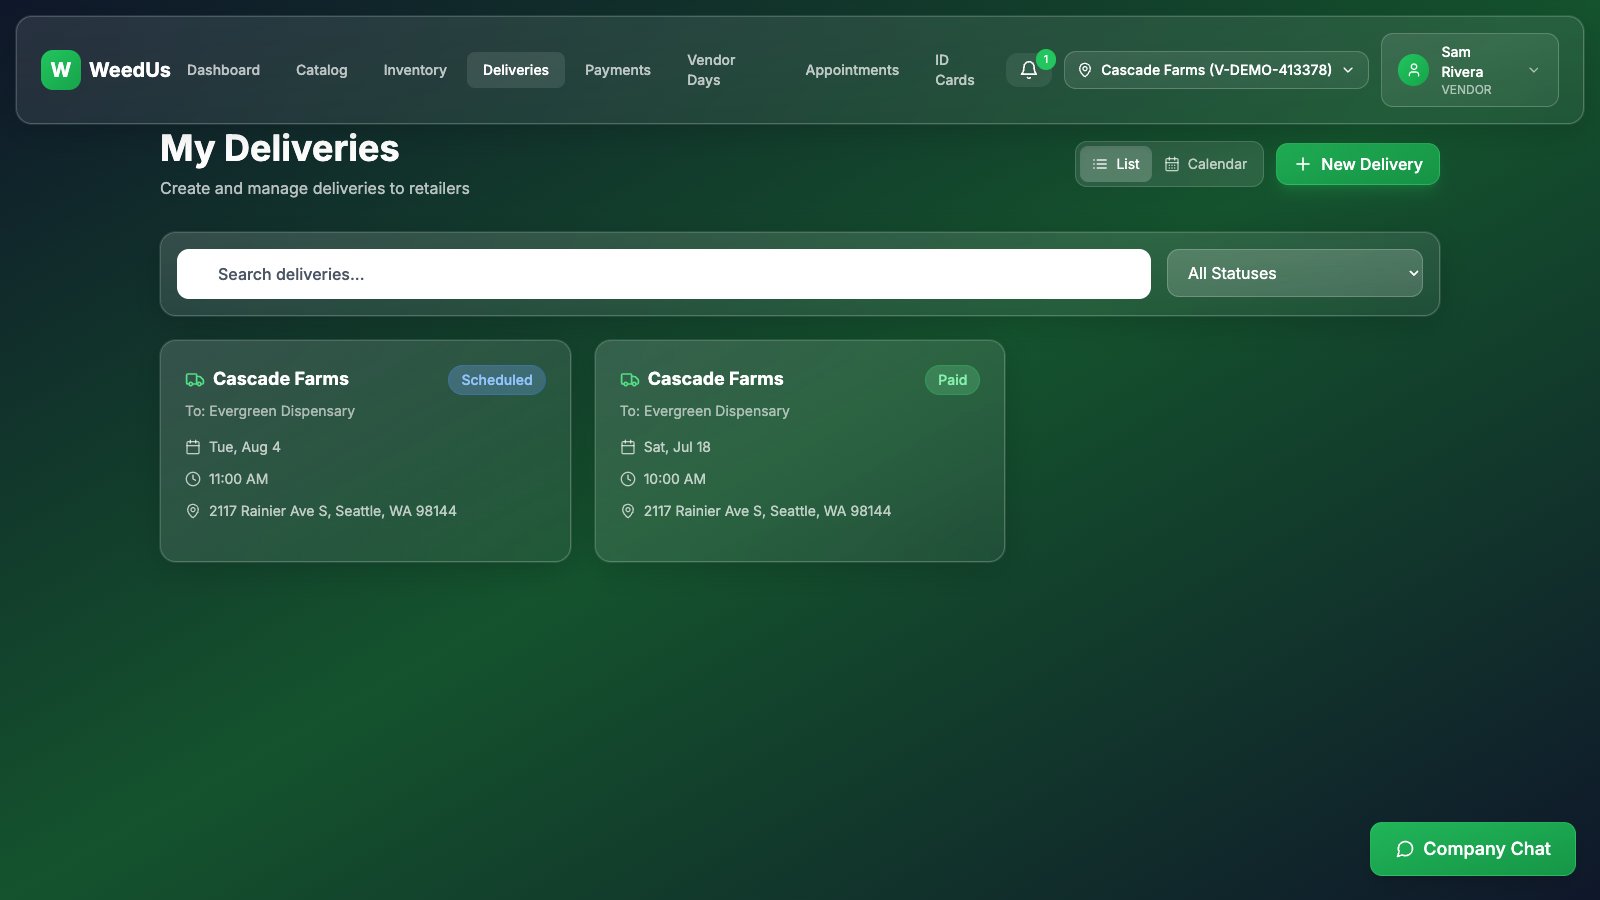
Deliveries are booked into the store's own delivery windows, with your paperwork attached up front — so the store can verify and receive you fast.
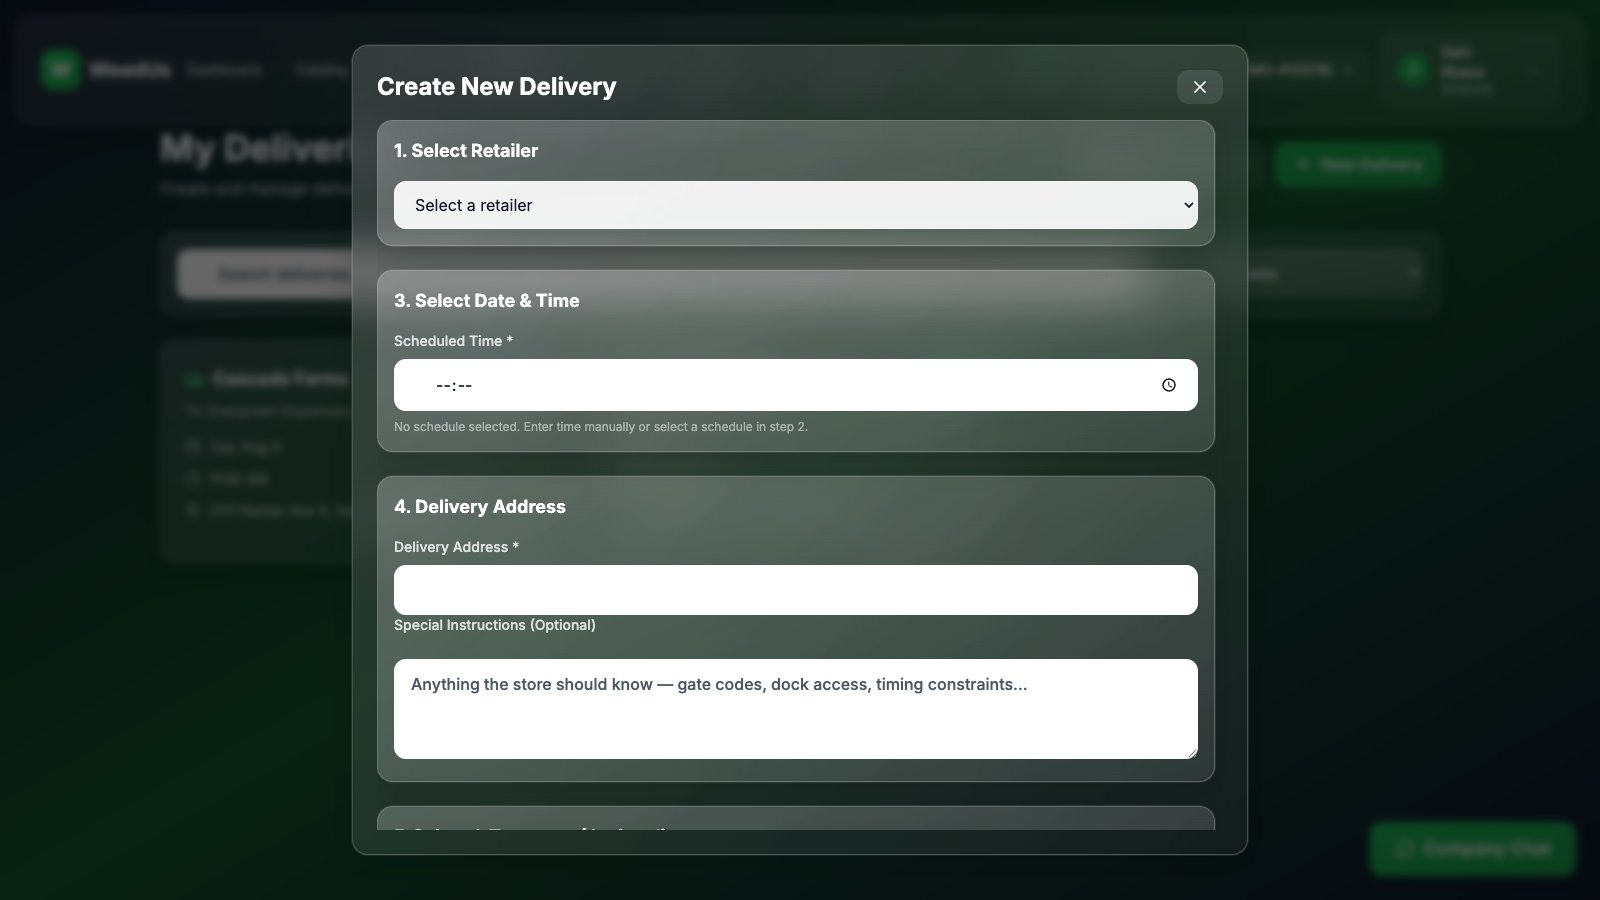
- 1Open Deliveries and press New Delivery.
- 2Pick the store, then one of their delivery windows and an open time slot.
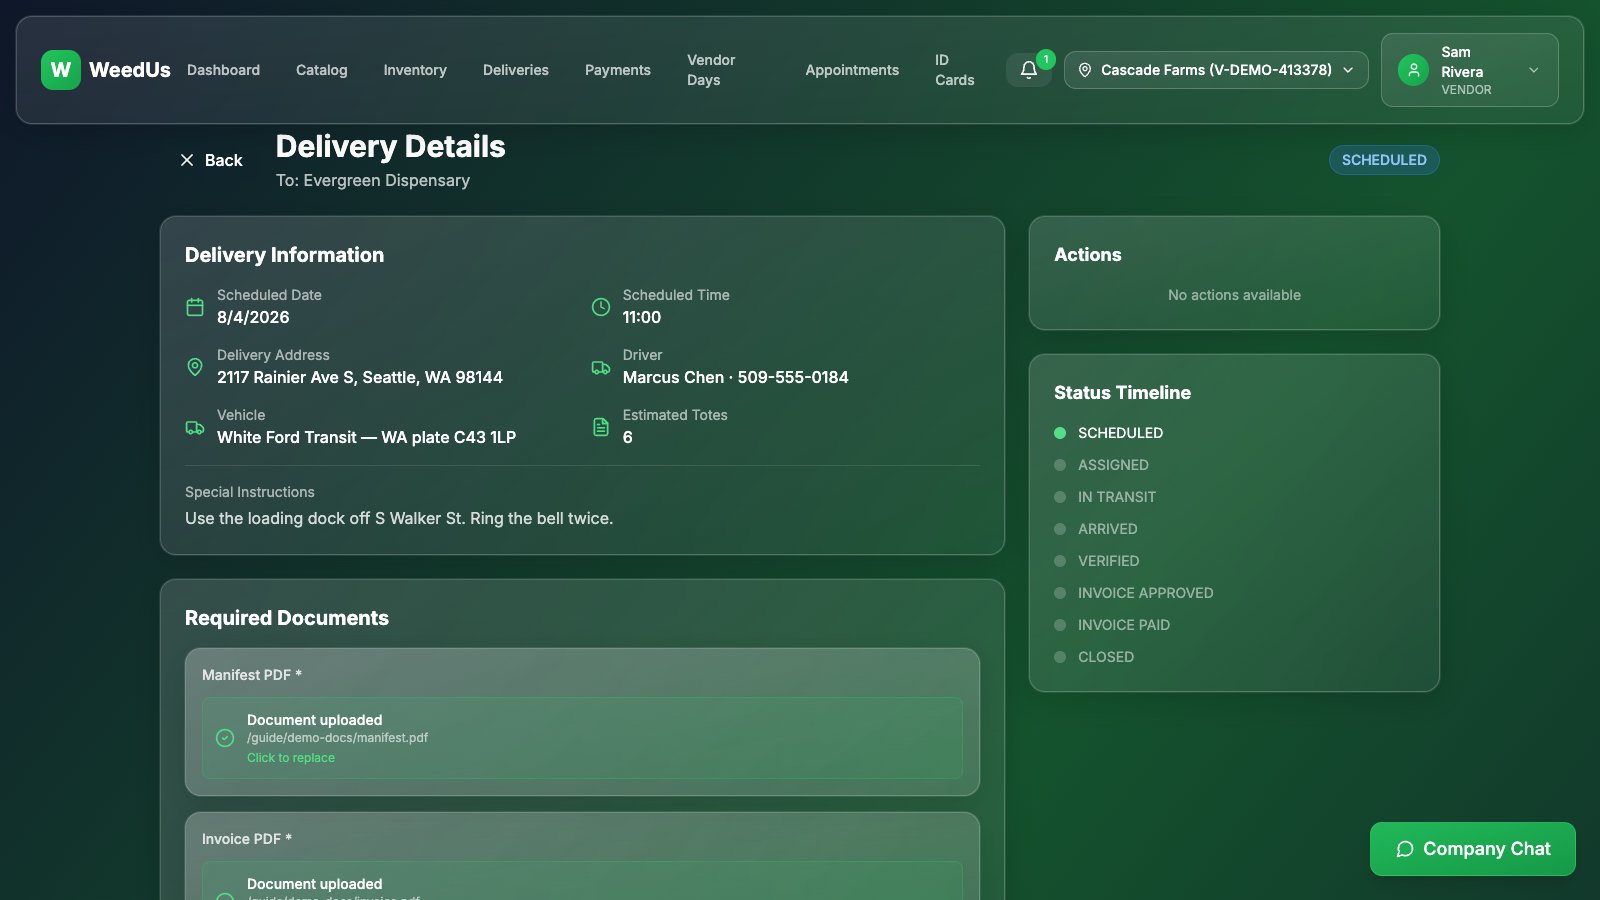
- 3Confirm the delivery address and add special instructions ("use the loading dock…").
- 4Add driver & transport details: driver name and phone, vehicle, estimated totes, and arrival time.
- 5Attach the required documents: manifest PDF, invoice PDF, and the WCIA JSON for the items (plus trade-sample docs if you're bringing samples).
- 6Submit. The store is notified, and your delivery appears on both calendars. Half-finished? The form saves as a draft you can resume later.
9.Vendor days
Vendor days put your rep in front of a store's customers. Stores publish their schedules with open time slots; you book instantly — no back-and-forth.
Booking a slot
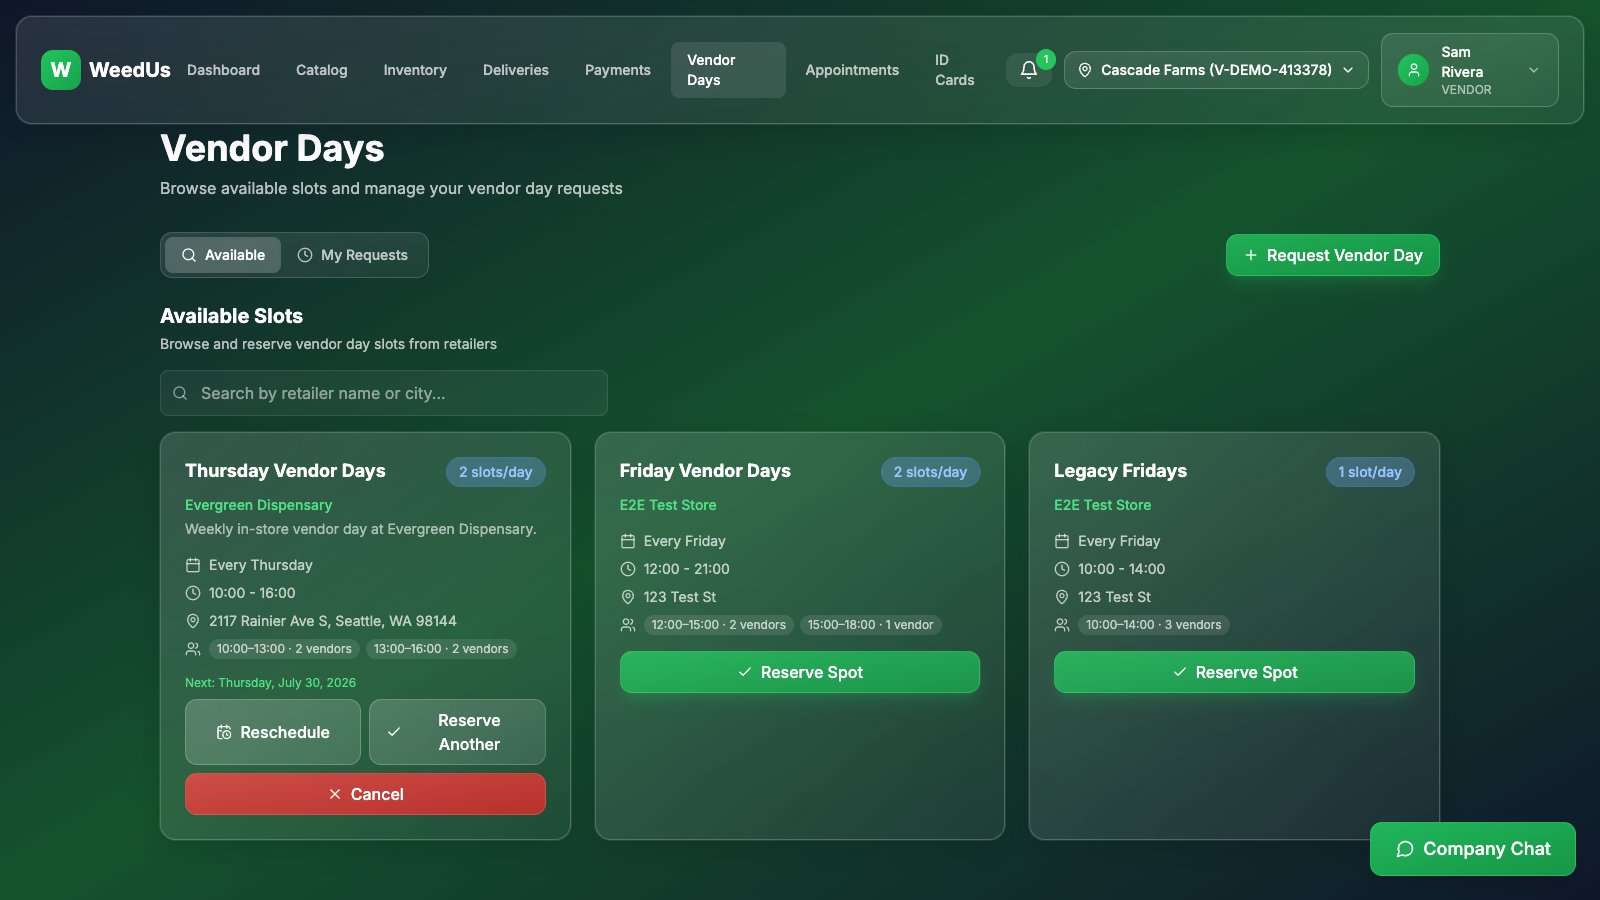
- 1Open Vendor Days. The Available tab lists stores, dates, and open slots (a "Full" badge means that slot is taken).
- 2Pick a slot and fill in your promotion details — brands you're bringing, product focus, your rep's name and phone, discounts, giveaways. The store sees all of it.
- 3Acknowledge the store's booking checklist (their house rules).
- 4Want it weekly? Choose a repeat option (weekly, every 2 weeks, monthly) and WeedUs books the whole series at once, skipping any full dates and telling you which ones it skipped.
- 5Confirm — you get a confirmation number (like
VD-8K2M-P4XN) and a confirmation email with the store's arrival and parking instructions.
Your bookings
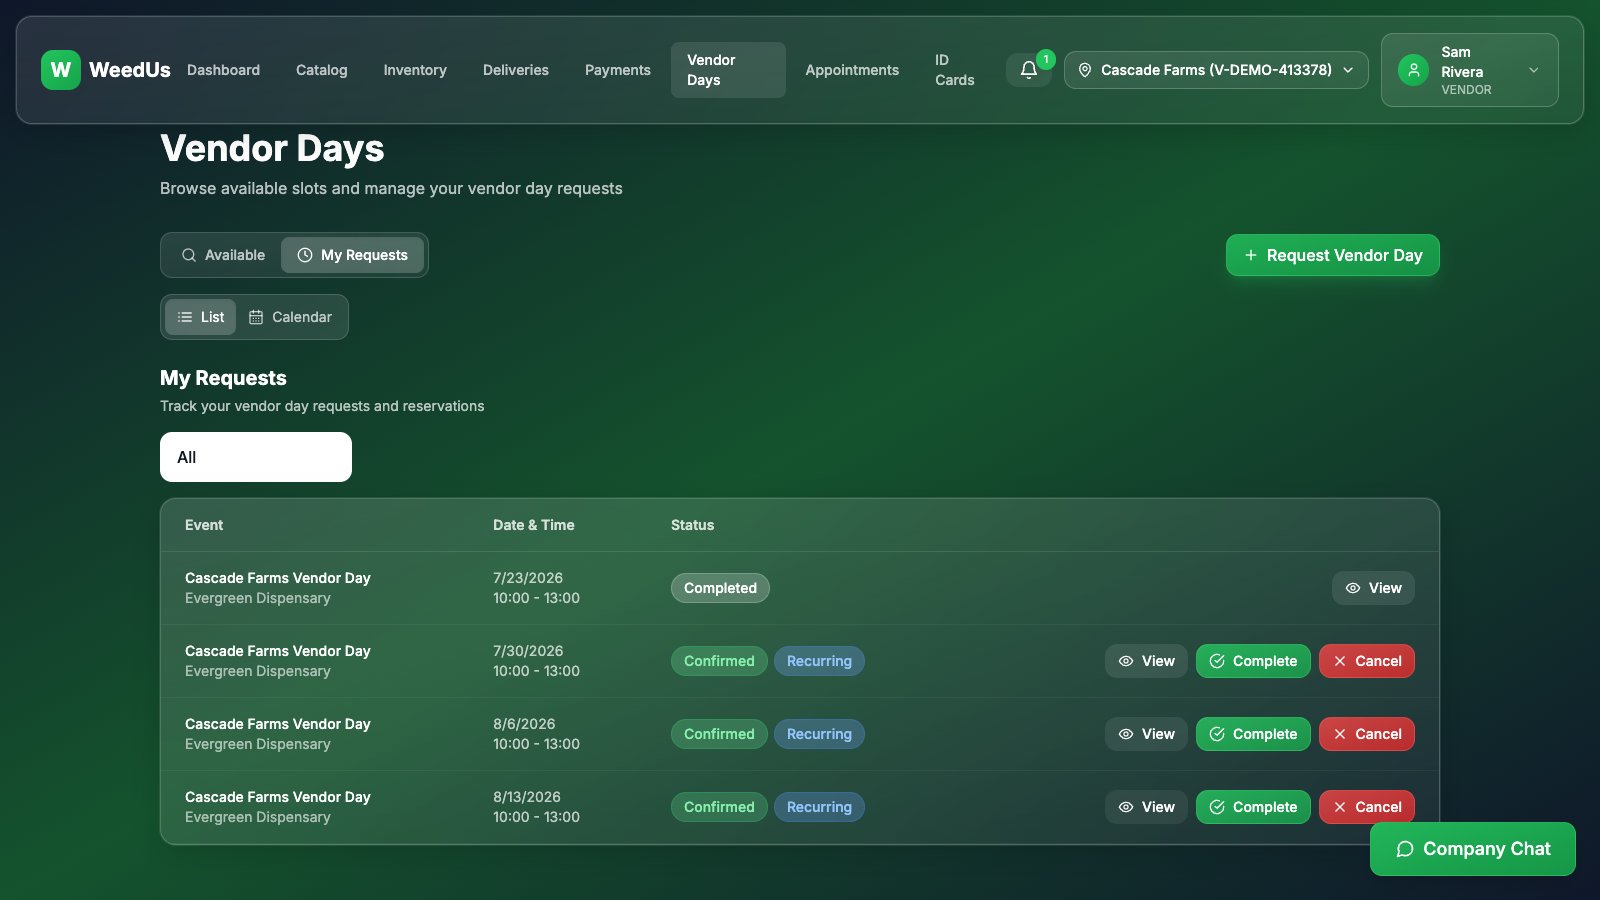
- 1The My Requests tab lists every booking — recurring ones carry a Recurring badge. Open one with View.
- 2Need a change? Reschedule to another open slot, Cancel a single day, or cancel/extend the whole series from the booking details.
- 3Before each day you'll get reminder emails: checklist (7 days out), manifest (3 days), arrival details (1 day), and a morning-of nudge.
On the day: check in with your QR code
- 1Open the booking — it shows a QR code and your confirmation number.
- 2Your rep shows either one at the store counter; the store checks you in. You'll see a "Checked In" confirmation, and the store's attendance record marks you present.
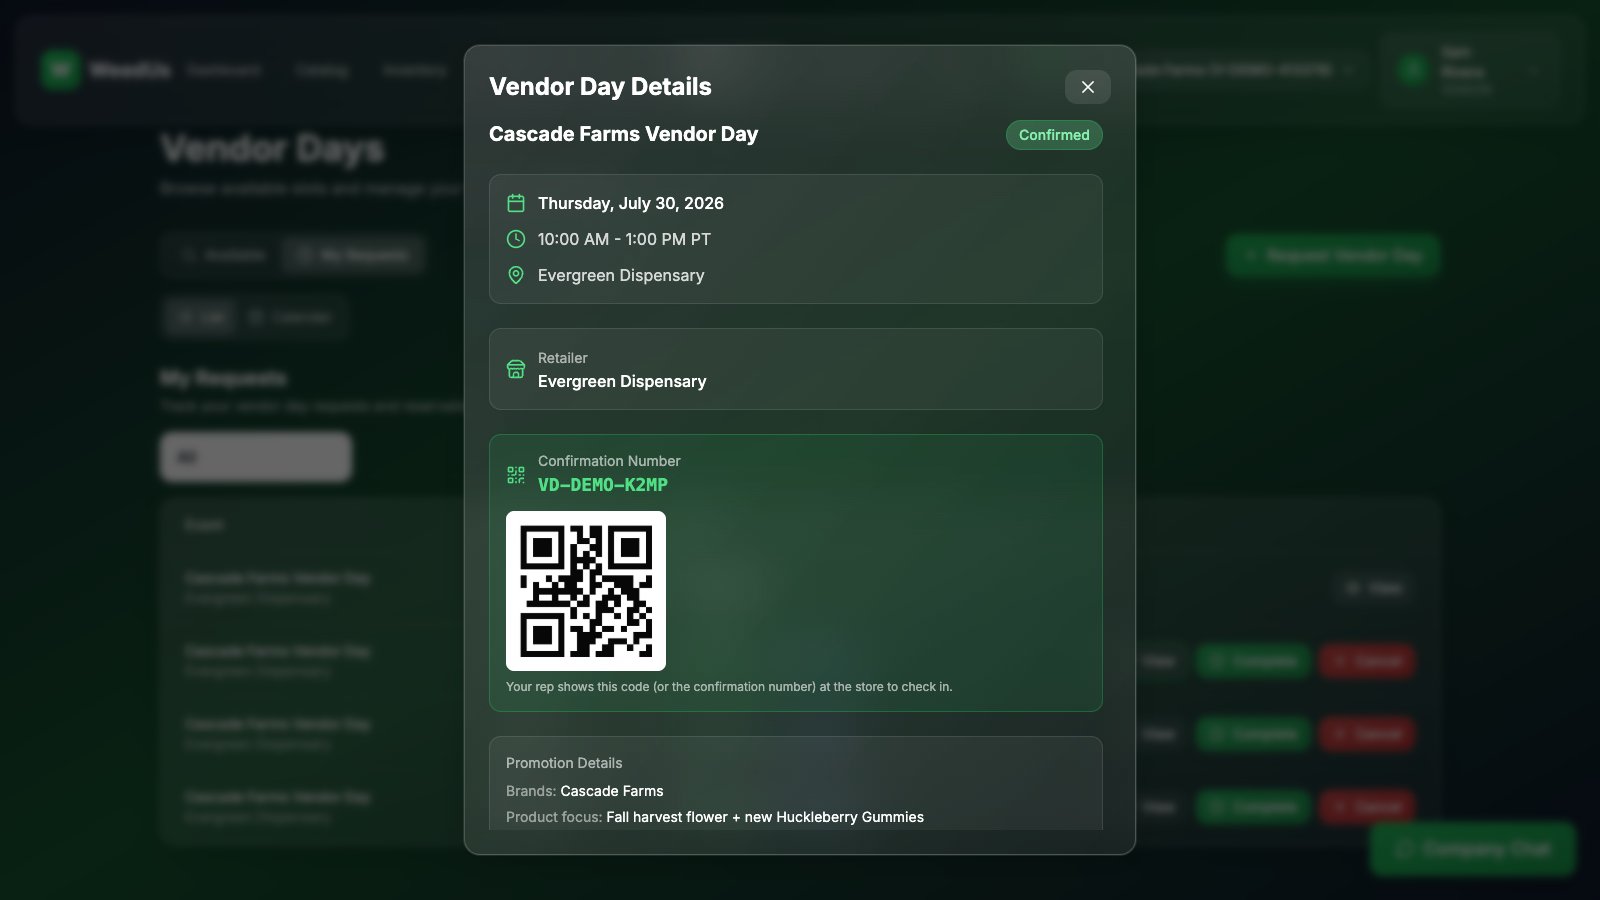
Stores track attendance. If you can't make it, cancel or reschedule ahead of time — no-shows are visible to the store.
10.Appointments
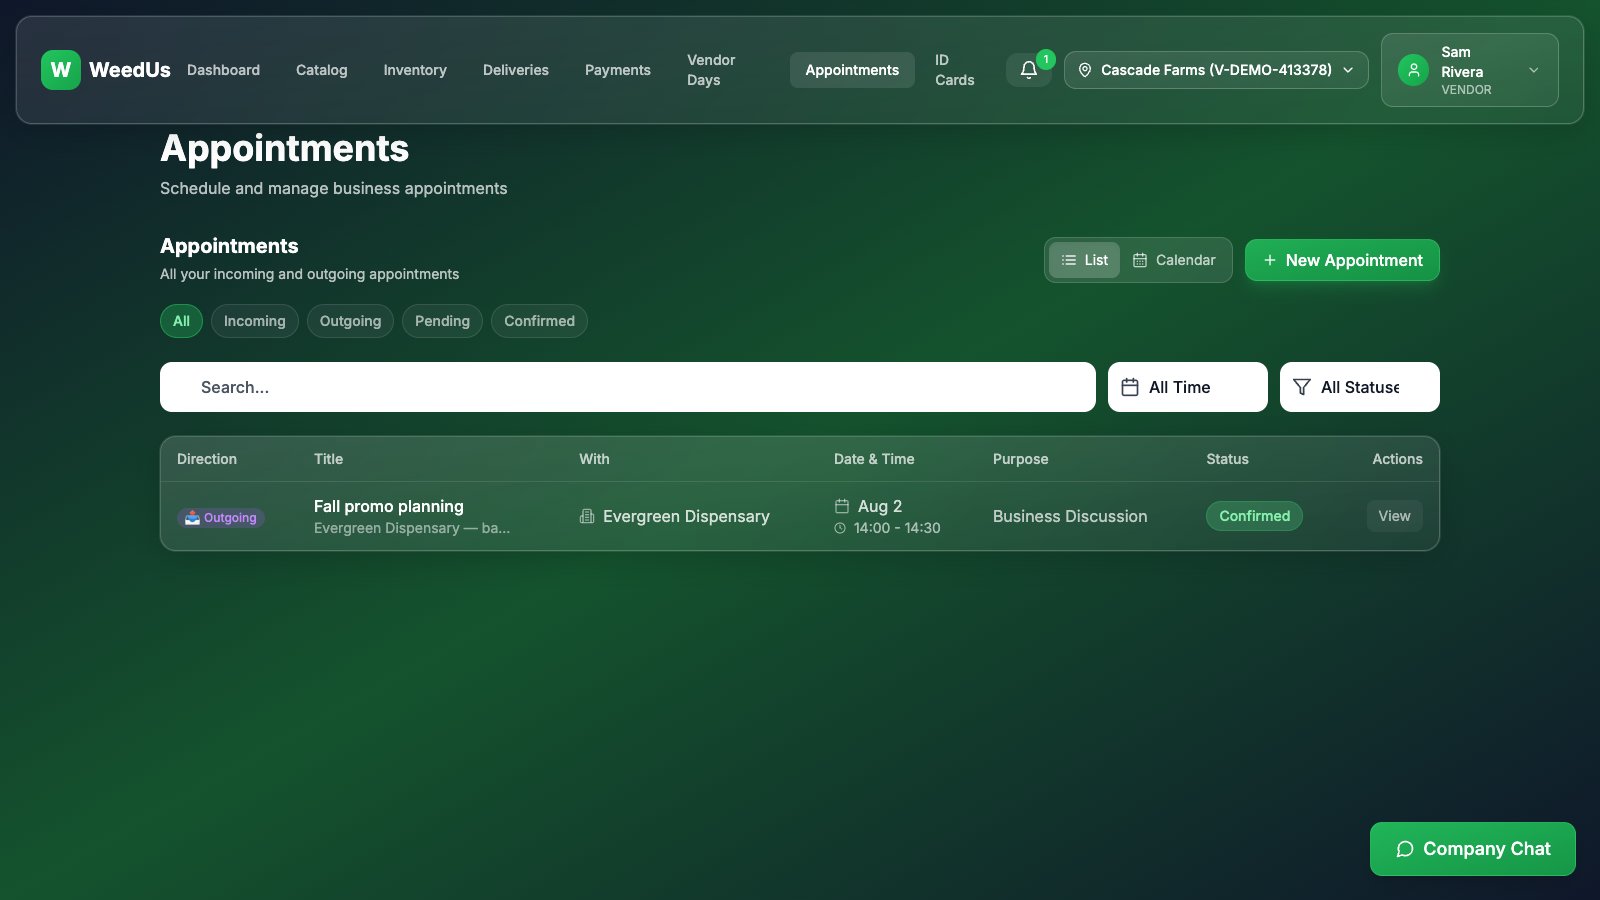
Need a sit-down instead of a booth? Request a meeting from Appointments: pick the store, propose a date and time, and state the purpose (product demo, business discussion…). The store confirms, suggests a new time, or declines — you'll see the status update live.
11.Payments
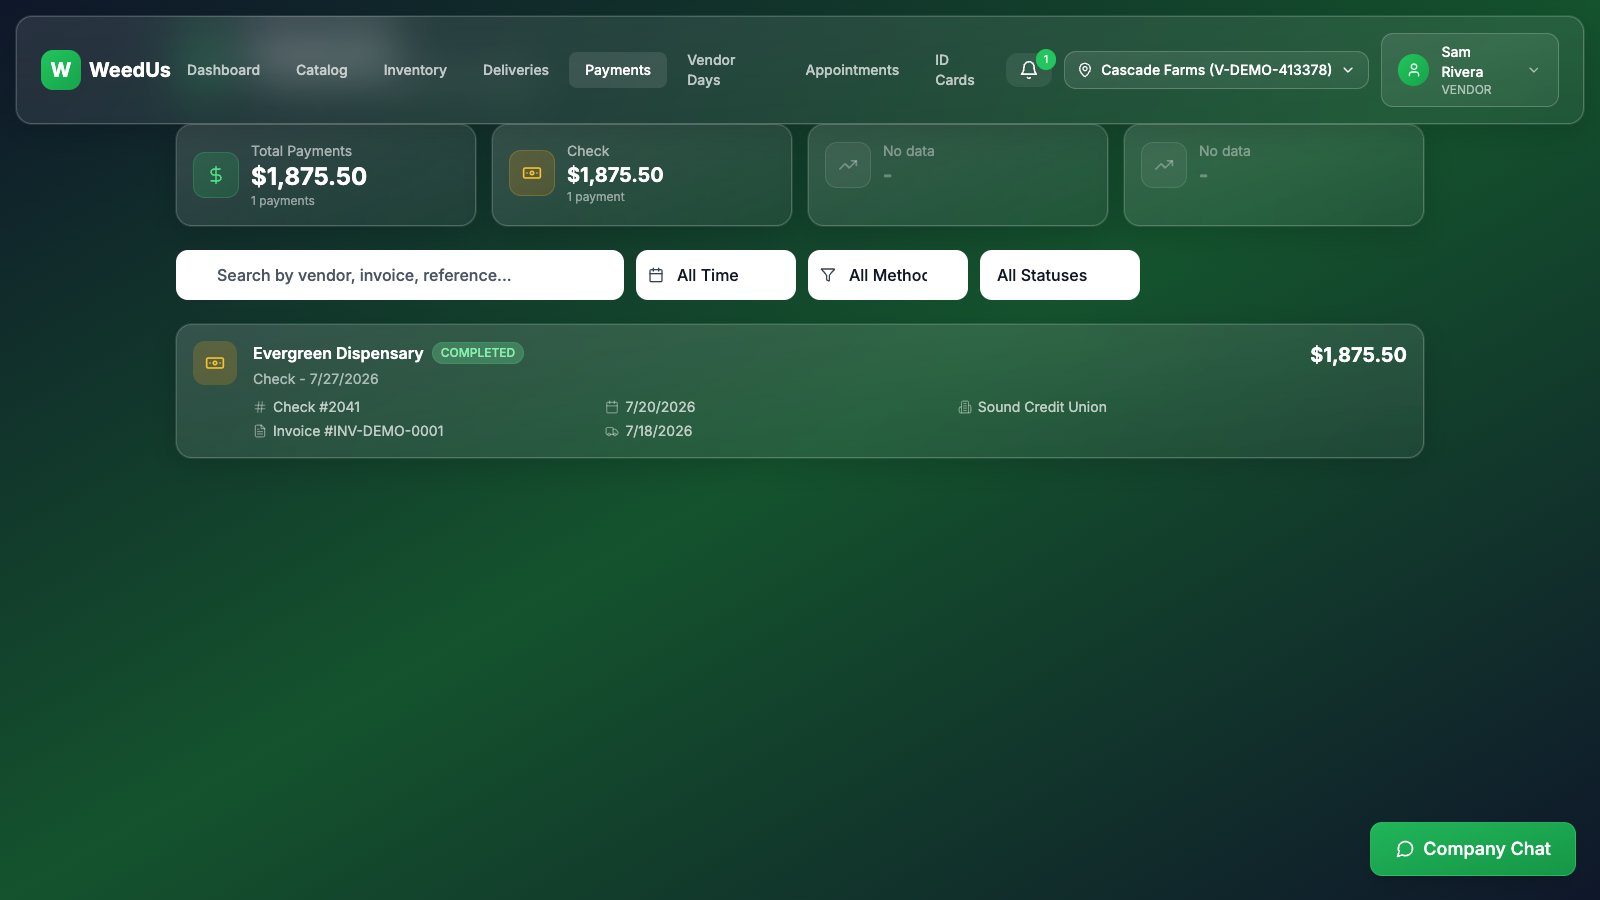
The Payments page lists every payment recorded against your invoices — amount, method (check, ACH, card), date, and the delivery it belongs to. When a store approves and pays an invoice, you'll see it here (and get a notification).
12.Your ID cards
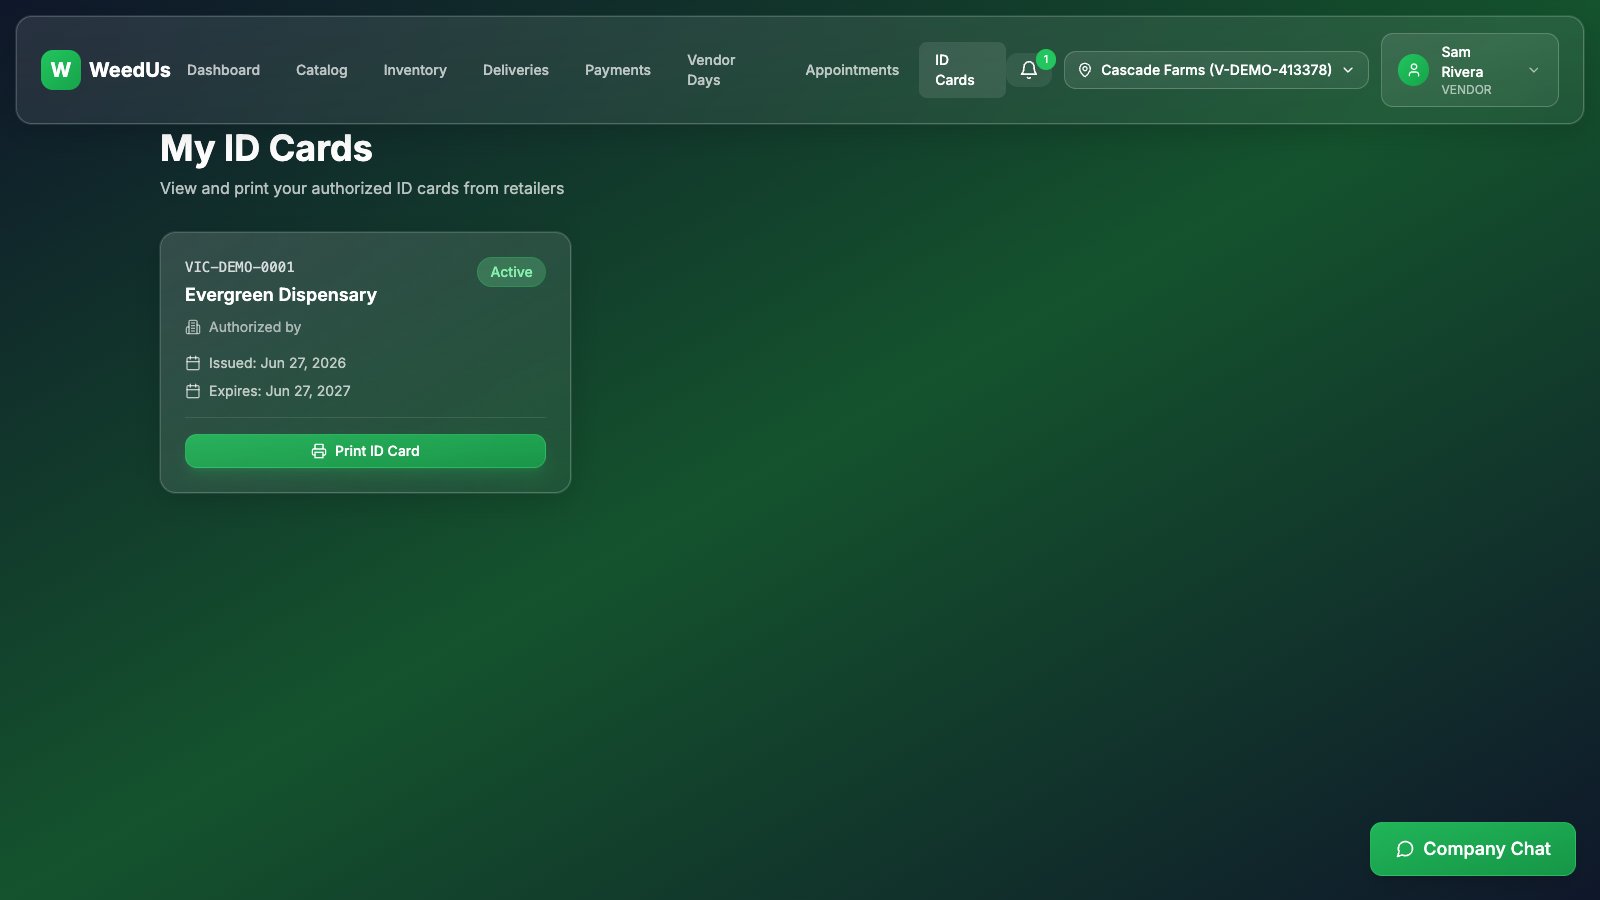
Stores issue vendor ID cards to vendors they work with — a badge with your license info and a QR code. Your card is what the store checks at the door for deliveries and vendor days.
- 1Open ID Cards to see every card a store has issued to you.
- 2Press Print and keep a copy with your delivery driver / rep.
- 3No card yet? Ask your store contact — only stores can issue them.
13.Inbox & chat
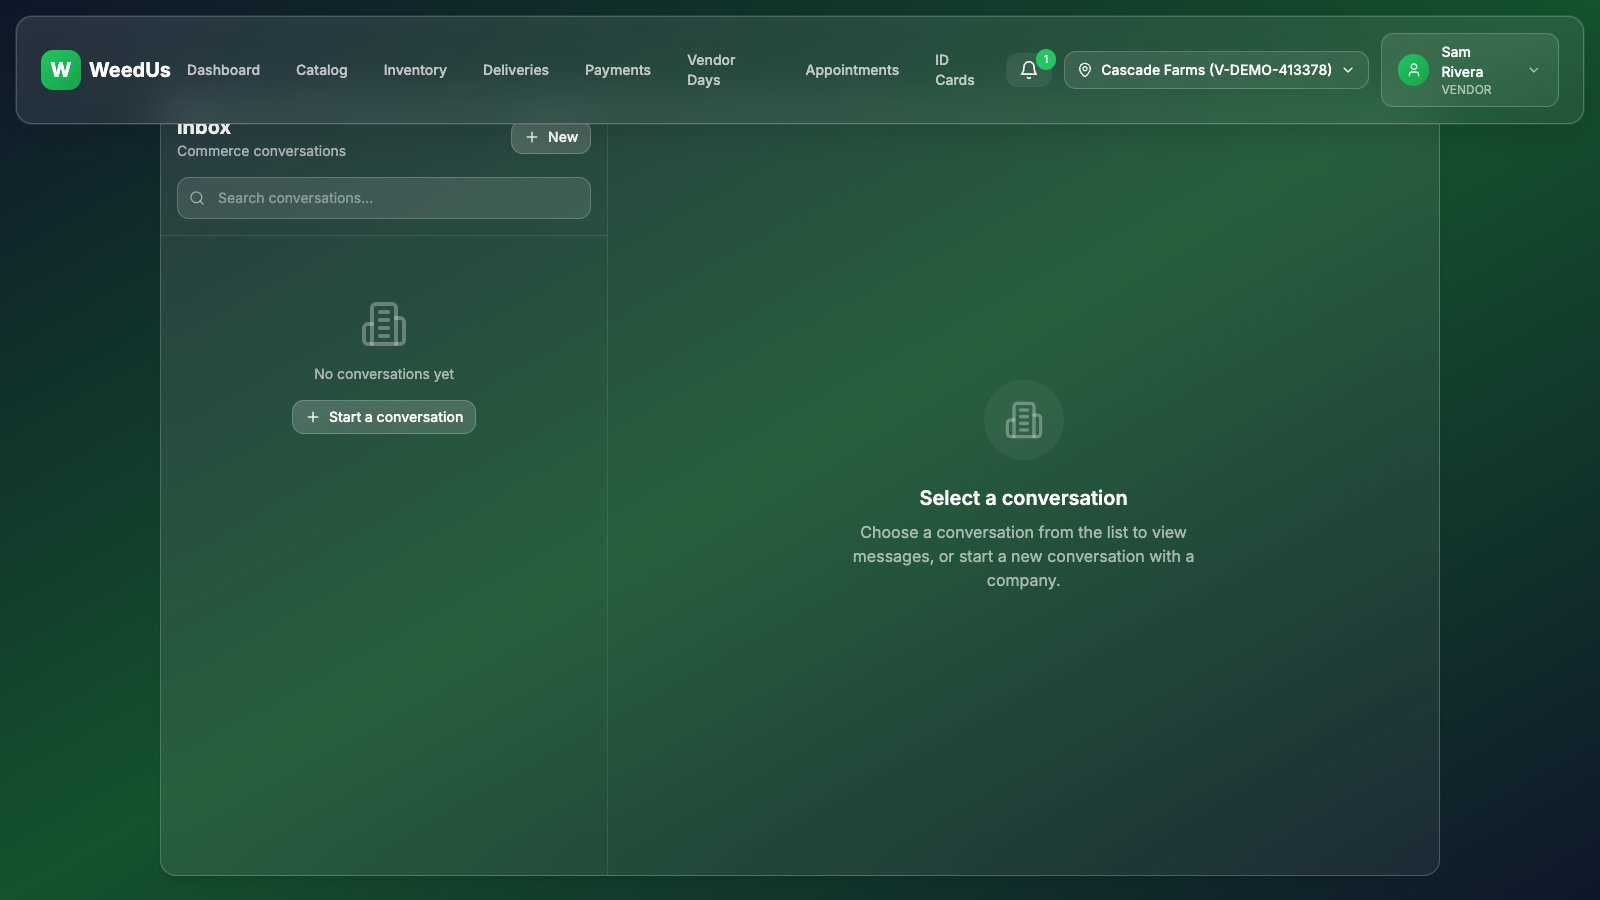
Message your stores from Inbox (top menu) — conversations are organized by topic, with search — or from the floating Company Chat button that's on every page. Price lists, promo plans, delivery questions: keep it all in one thread instead of scattered texts.
14.Locations, settings & help
- Multiple locations? The location selector in the top bar switches between your licensed locations; Manage Locations adds new ones (each with its own license).
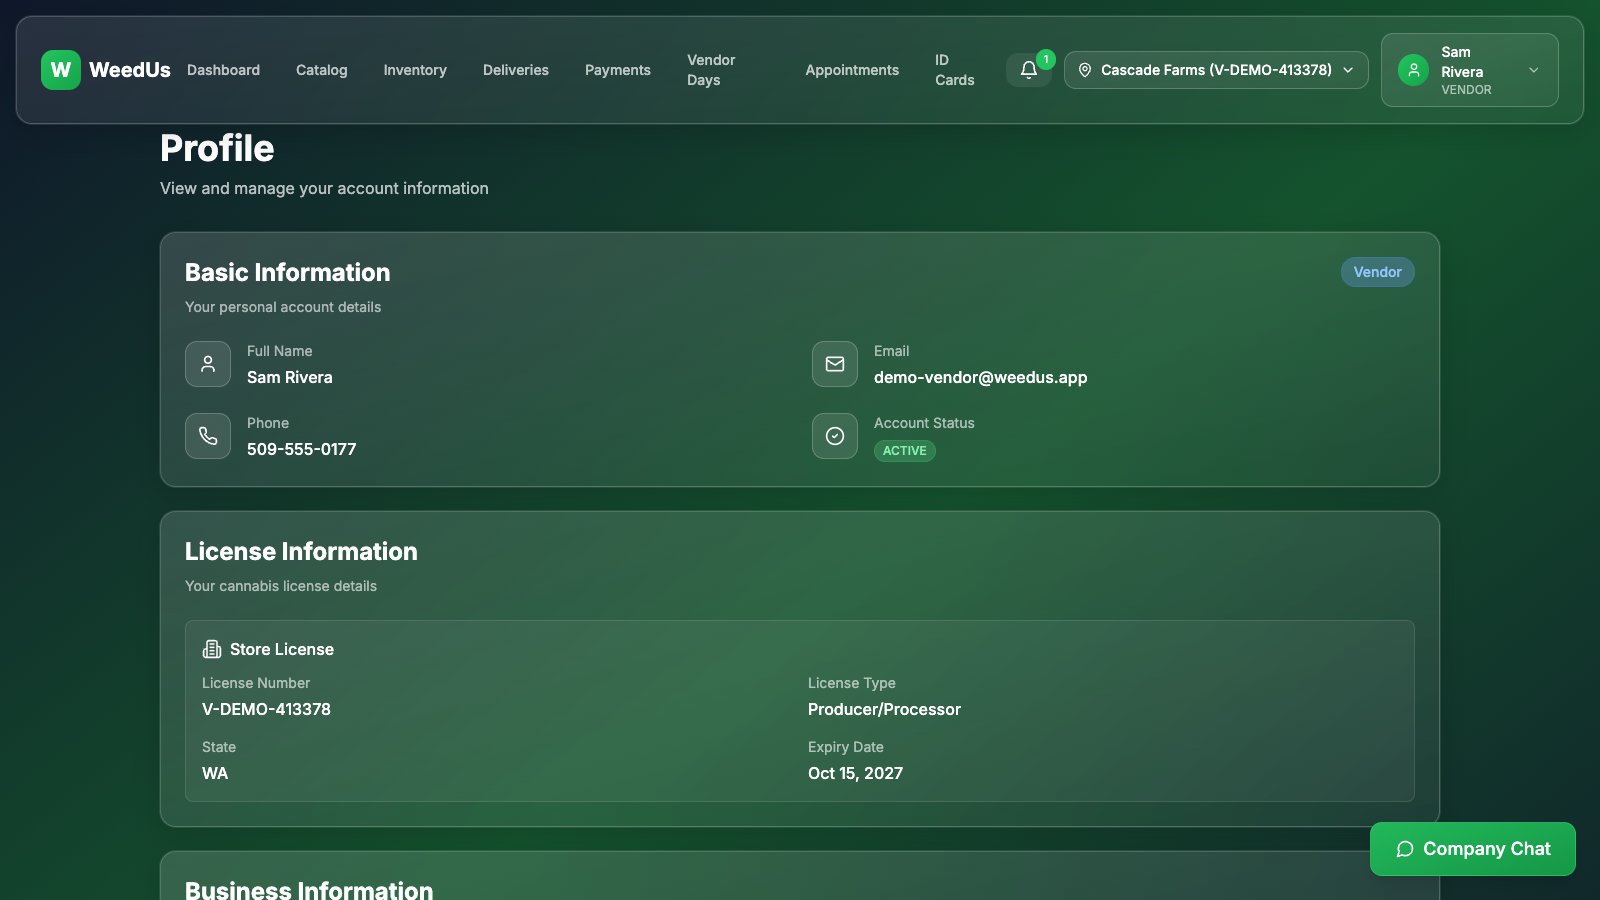
- Profile shows your account summary; Settings is where you edit business info, change your password, and set up Google Calendar sync for deliveries and vendor days.
- The bell collects notifications (orders, payments, bookings); your whole team sees them, so nothing depends on one person's inbox.
- Questions or ideas? Profile menu → Feedback. And these guides are always at profile menu → Help & Guides.